Wiping down after riding in the rain
No need to let the literal rain ruin your figurative parade! Knowing how to dry off your ride after a soupy commute can help keep your bike in tip-top shape for countless miles to come.
Two quick notes here before we get down to the finer details:
1) If you don’t have 5-10 minutes for a proper cleaning after a rainy ride, at least try and dry your bike off with a towel and go back for a proper cleaning as soon as possible. This article is also intended as a quick “post rainy ride” clean-up, not a deep cleaning which is something we like to do a few times a year.
2) Fenders do wonders for keeping mud and excess moisture off your bike frame and components. If you intend to ride in the rain often, they are highly recommended but if you think you’ll get caught on wet roads only a handful of times per year, you can likely do without them.
Let’s get those bikes squeaky clean, shall we?
Step 1: Wash it
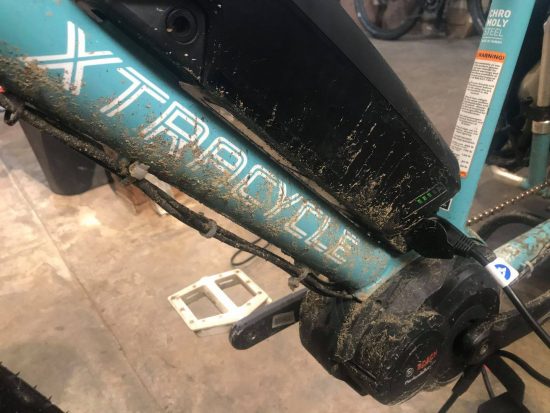
After a good ride in the rain, your bike might have a nice coating of mud, road grime and general gunkiness. The smallest of cruddy bits can hold moisture and lead to corrosion on your bike so getting all that gunk off ASAP is critical. Don’t just shower your bike using a high powered sprayer or hose since that water can sneak into your bearings and lead to wear. All you need is a bucket of warm sudsy water and a sponge to give your bike a good wipe down. Be sure to get under your bottom bracket (under where the bike pedal arms attach to your frame), under your down tube (the bottom tube that connects the front of your bike to the bottom bracket), cables, and (if you don’t have fenders) underneath the rear FlightDeck. Be sure to get that drive train nice and clean too! This includes your crank, chain, pedals, and derailleur arm.
Step 2: Dry the frame
Now it’s time to get as much of that moisture off your bike as possible. Bath towels and shop rags are ideal but if you are in a pinch and caught while out on a commute, paper towels or a spare shirt you have in your backpack will do the trick too. Focus on the metal bits the most since the rubber parts are less susceptible to corrosion from water exposure. Once dry and if the sun is out, place your bike in a sunny spot to air dry as well.
Step 3: Dry your accessories
Take some time to dry those accessories like the Hooptie rails and U-tubes. If you have a MagicCarpet, removing the Carpet to dry in a sunny or dry place is ideal. X3 bags are pretty good about air drying but a PorterPack might need a little extra wipe down. Setting soft goods out in the sun once it comes back out is a big help too. Just be sure to not pop any of those soft goods like bags or MagicCarpets in the dryer since air drying them is best.
Step 4: For eBikes – Remove your Bosch battery
To ensure the bottom Bosch battery mounts don’t pool any water, pop off that battery and give the mounts a good drying as well. While the Bosch system is water resistant and can be ridden in the rain, drying off the contact points can only help in keeping your system in primo working condition.
Step 5: Lube your chain
Once your bike is squeaky clean it’s important to make sure it won’t literally squeak on your next commute. To prevent this, you will want to lube up your chain. Be sure your are using the right kind of chain lube. You can get some great tips on cleaning and re-greasing a chain from Cycling Weekly here.
With these simple steps for showing your bike some TLC after a little inclement weather, you can ride into the rainy season feeling confident and ready to tackle whatever the weather report has in store.